Table of Contents
How to use Google Meet for presentations can be done easily on cellphones, PCs, or laptops.
Google Meet is an application made by Google for video teleconferencing that can be used as an alternative to Zoom.
This video conference application from Google can be used for free without being charged a penny. Although Zoom is also free, the free version of the Zoom application is only for 40 minutes.
There are many features in the Google Meet application to help smooth your tasks. Such as virtual background, record, and there is even a screen sharing feature.
With the share screen feature in Google Meet, it is possible to share the entire screen so that you can show something that is being worked on for the smooth running of the presentation or team meeting.
How to Make a Presentation on Google Meet with a Laptop or PC
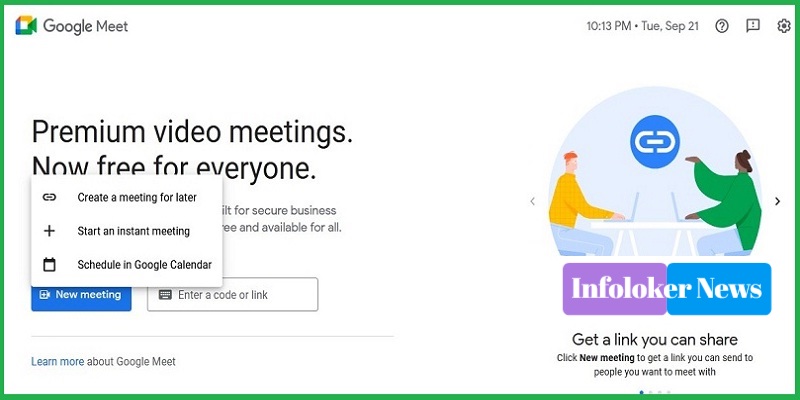
Of course it will be much easier and more flexible if we do presentations on Google Meet using a PC or laptop. Especially when you want to display multiple screens at once.
Below is a step-by-step tutorial on how to use Google Meet for presentations via PC or laptop:
- First, open a browser on your laptop or PC, you can use Firefox, Chrome, or others.
- Then open the Google Meet
- Next, log in to Google Meet using your Gmail account
- Then join the meeting or meeting on Google Meet that will be shared screen
- The next step, prepare the presentation material to be displayed
- Then click the “Present Now” button located at the bottom right
- Then select one of the three options in screen share mode
- Then you can choose the screen share display according to your wishes
- Click the “Share” button located at the bottom to start screen sharing
- After that, your laptop or PC screen will automatically appear on Google Meet. And can be seen by all meeting participants. Next, you can start presenting with the material that has been prepared.
- Click the “Stop Sharing” button when you have finished presenting, so the screen sharing will automatically stop by itself.
Here is an explanation of the three screen sharing options available in Google Meet:
- A Chrome Tab: To display other tabs in Google Chrome.
- A Windows: Can be used to share multiple windows at once.
- Your Entire Screen: Can be used to share the entire PC screen.
How to Present on Google Meet via Mobile
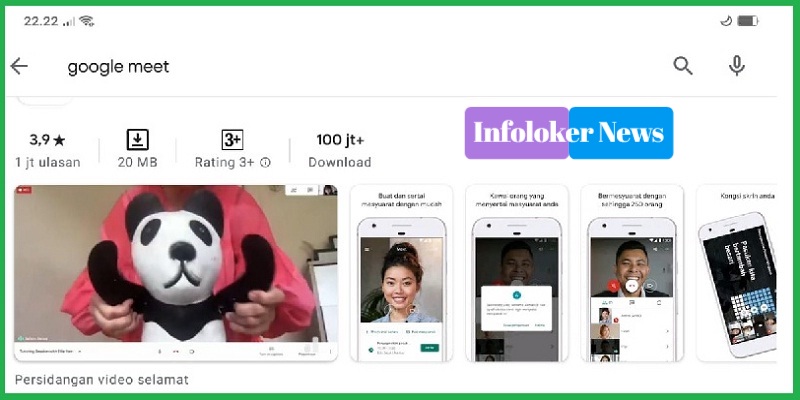
If you don’t have a PC or laptop, you can still do a presentation on Google Meet using a cellphone.
The steps for presenting on Google Meet with a cellphone are as follows:
- The first step is to download the Google Meet application on the Google Play Store and then install it
- Then open the Google Meet application on your cellphone
- Then click the “Login” button to log into your Google Meet account
- After successfully logging in, the next step is to join the meeting or meeting you want to share the screen
- Then prepare the material to be presented
- Click the “Three Dots” icon located at the top
- Then select the “Present Screen” option
- Then click “Start Presenting”, then your cellphone screen will appear in the Google Meet meeting and can be seen by other participants.
Now, all participants can see the material you are presenting. And through your cellphone, you can deliver material in the form of words, data, or Power Point.
If you are finished or have finished your presentation, you can turn off the screen share feature.
Here’s how to turn off screen sharing in Google Meet:
- Click the “Three Dots” icon located at the top right of your cellphone screen
- Then press the “Stop Sharing” button
- Then wait a few moments until the screen share turns off by itself
Thus our review this time about How to Use Google Meet for Presentations via Laptop, PC, and Mobile Phones that can be done easily. Hopefully useful for all loyal readers of InfoLoker News. Thank you.


